SIMBA Viewer Settings and Image Settings
For
the Medical Image Viewer
The settings options for all view panels at the top of the viewer are shown below:
The settings options for a specific view panel at the top of the image are shown below:
Viewer Settings The buttons have the following functions:
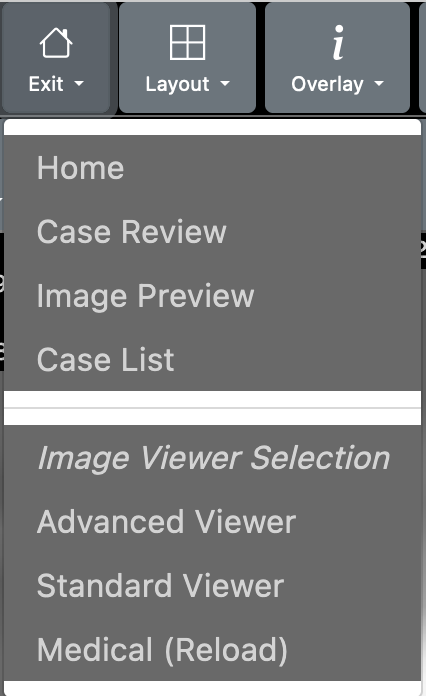
1. Exit
The exit selector provides two functions (a) exiting the viewer and
navigating to a different location in the SIMBA system and (b) selecting
a different image viewer. In the latter case your selection should be
used for future image viewings for that SIMBA session
The viewer is capable
of presenting four different images simultaneously if screen resources permit.
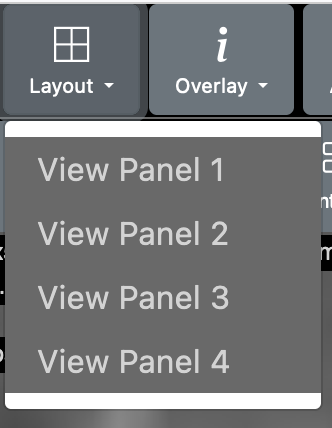
Layout selects which of the four image view panels are to be visible.
When the viewer is started with a single image only view panel 1 is visible.
When the viewer
is started with two images then view panels 1 and 2 are made visible.
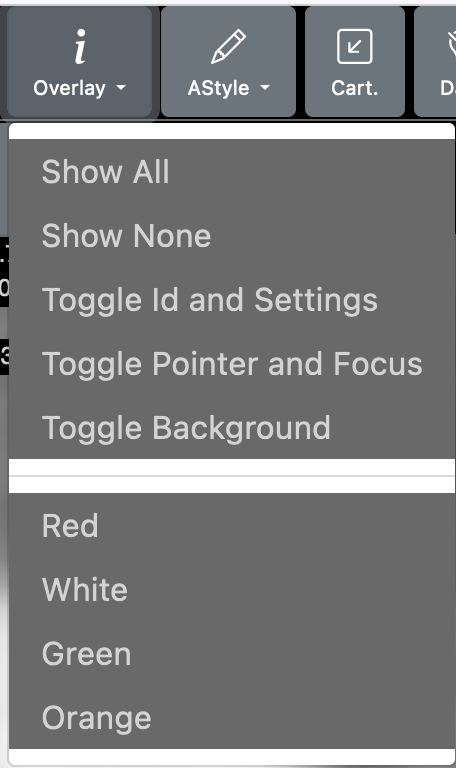
The overlay selects which image meta-data will be displayed on
all visible view panel images. Also color of text and a black background may
be selected.
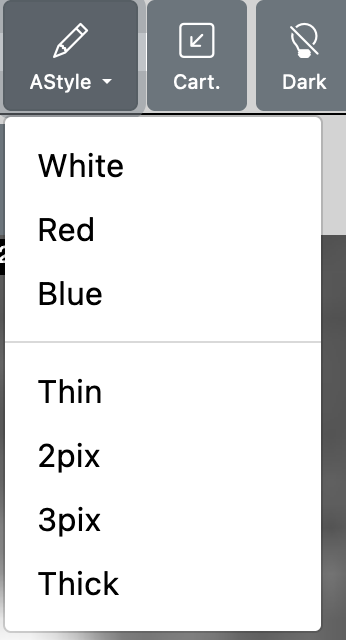
The AyStyle selects the presentation style
of an annotation boundary with respect to color and line thickness.
The Cart buttons toggles between Cartesian pixel indexing
and table/array pixel indexing.
By default the viewer uses table/array indexing in which 0,0 is at the top
left corner of the image. In Cartesian indexing pixel 0,0 is at the bottom
left corner of the image. Currently,
in Cartesian mode, the interactive annotation tools
still use table/array indexing in their image displays.
The Dark button toggles between a light background presentation
and a dark background presentation.
The dark mode is preselected on the medical viewer and is not selected on
the advanced viewer.
The Fill button toggles the fill option.
When selected the viewer magnifies the image to fill the available viewing
space.Otherwise the image is displayed at size 512 x 512 pixel
which may be manually modified.
The fill option is preselected on the medical viewer and is not selected on
the advanced viewer.
The 1--2 buttons toggles image linking between view panels 1 and 2.
When linked scrolling in one view panel will also scroll in
the other view panel; thus, maintaining synchronization.
The current simple scheme is based just on the image index not on the
"slice thickness" for medical images.
Thus is it not to be confused with the actual distance linking used in
most medical image viewers.
This is an indicator that displays how any images the viewer
has requested from the server but has not yet received.
This should only be a high number for rapid animations or when
loading a large set of images.
When this number becomes 0 the last requested image will be displayed
Image Settings The buttons have the following functions:
1. Load
The load selector allows for the loading a new image or an image
annotation to the viewer panel.
The Bndry button toggles the visibility of a bookmark location.
The location is identified with a small red square annotation.
The Bndry buttons toggles the visibility of any boundary annotations.
The Interp. button toggles between bi-linear pixel interpolation
and no (zero-order) pixel interpolation.
The default is bi-linear interpolation.
Zero-order interpolation is used when the user is interested in seeing the
actual pixel regions.
The Tools button toggles the visibility of the tools panel located on the
right side of the view panel.


When changing viewers, the viewer is initialized with the same
images(s) with which the current viewer was initialized;
any modifications from the initial viewer state will be lost.
2. Layout
3. Overlay
4. AStyle
5. Cart.

6. Dark.
7. Fill.
8. 1--2.
9. Pend

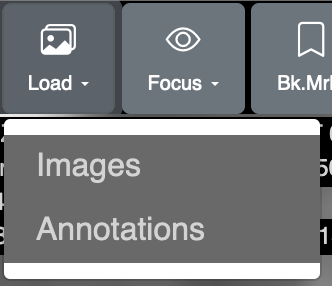
Select the load option to load a new image (or to change directory
when used with vsimba workstation mode). A pop-up menu will provide you
with the image options and a related "Load" button for each image.
Select the Annotations option to load a new image annotation.
A pop-up menu will provide you
with the annotation options for the currently viewed image
and a related "Load" button for each annotation.
2. Focus
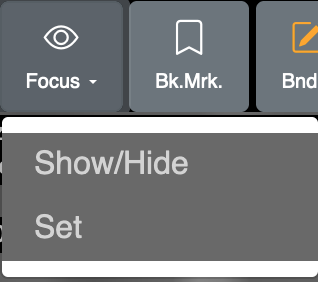
The focus point (small yellow square) is a point annotation set by the user.
It positions the center of the image when zooming allowing for
convenient magnification of a region of interest.
The Focus selector allows the focus feature to be set and to be activated.
The "Show/Hide" option toggles the visibility of the focus point
(shown as a small yellow square when activated). When activated
(and visible) the image is repositioned during a zoom operation
to maintain the focus point
at the center of the image.
To set the zoom location, click the left mouse button at the desired image
location and then select the Focus "Set" option.
3. Bk.Mrk.

4. Bndry
5. Interp.
6. Tools
